Getting Started
Learn how to setup MirComp with instruction on how to install the IDE and create your first music project.
Prerequisites
Download and build the application
Follow the instructions on the Download page.
Launch the application
When the program starts you will see, after the agreement dialog, the splash screen of the app with the official logo.
Create a new score
We are almost ready to write our first composition.
There are two ways to start composing.
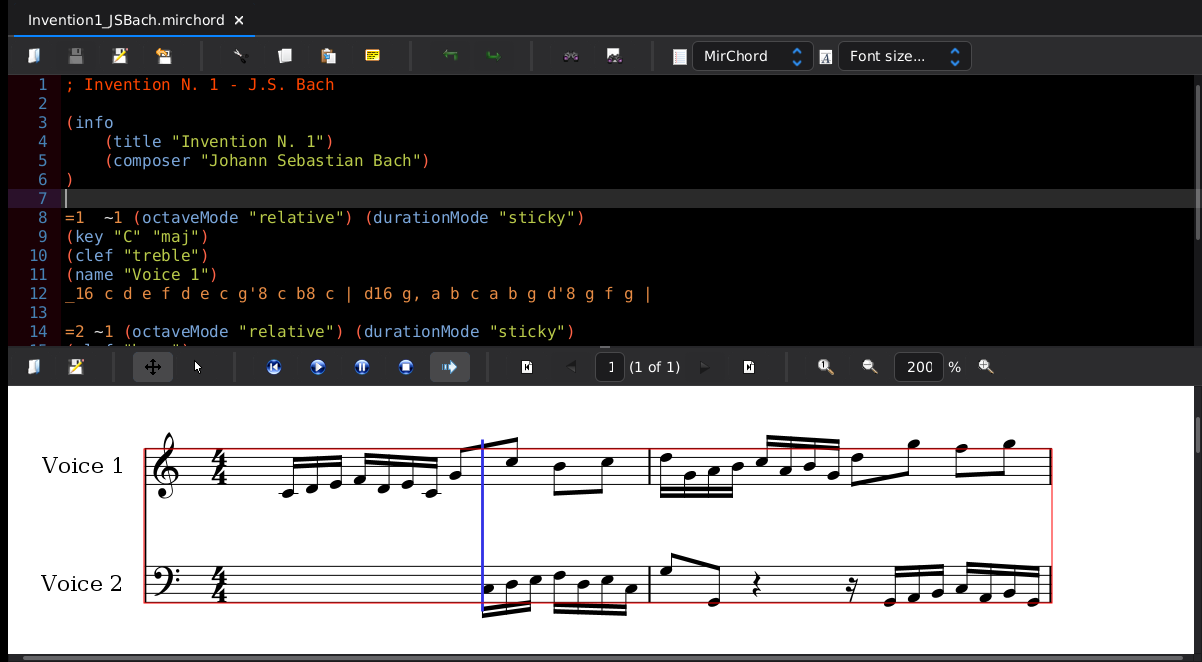
- The simplest choice is to create a new mirchord file and edit the score using the MirChord notation. In this case there will be a special window divided in two panes with a syntax highlighted code editor and a score viewer and MIDI player.
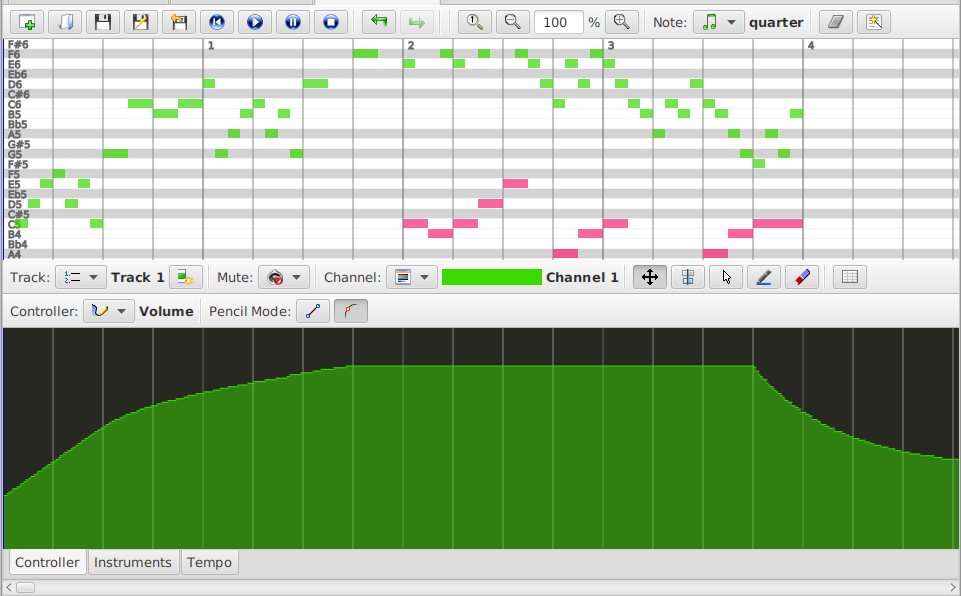
- On the other hand, it is possible to create a new MIDI file and in this case you can start composing by means of a full-blown MIDI sequencer and editor.
Using the MirChord notation language
Examples are a conventient way to explore the software capabilities and in this short tutorial you are invited to cut and paste the first four measures of Invention n. 1 by the well known German composer and musician Johann Sebastian Bach
You can visit the reference page for details about MirChord.
	=1  ~1
	(key "C" "maj")
	(clef "treble")
	(name "Voice 1")
	(durationMode "sticky") (octaveMode "relative")
	_16 c d e f d e c g'8 c b8 c | d16 g, a b c a b g d'8 g f g |

	=2 ~1
	(clef "bass")
	(name "Voice 2")
	(durationMode "sticky") (octaveMode "relative")
	^3 _2 _16 c d e f d e c | g'8 g, _4 _16 g a b c a b g |

	=1
	^5 e16 a g f e g f a g f e d c e d f | e d c b a c b d c b a g f# a g b

	=2
	^4 c8 b c d e g, a b | c e, f# g a b c4
To perform the score generation task you have to press the Run action (the button with the "gears" or the equivalent menu item).
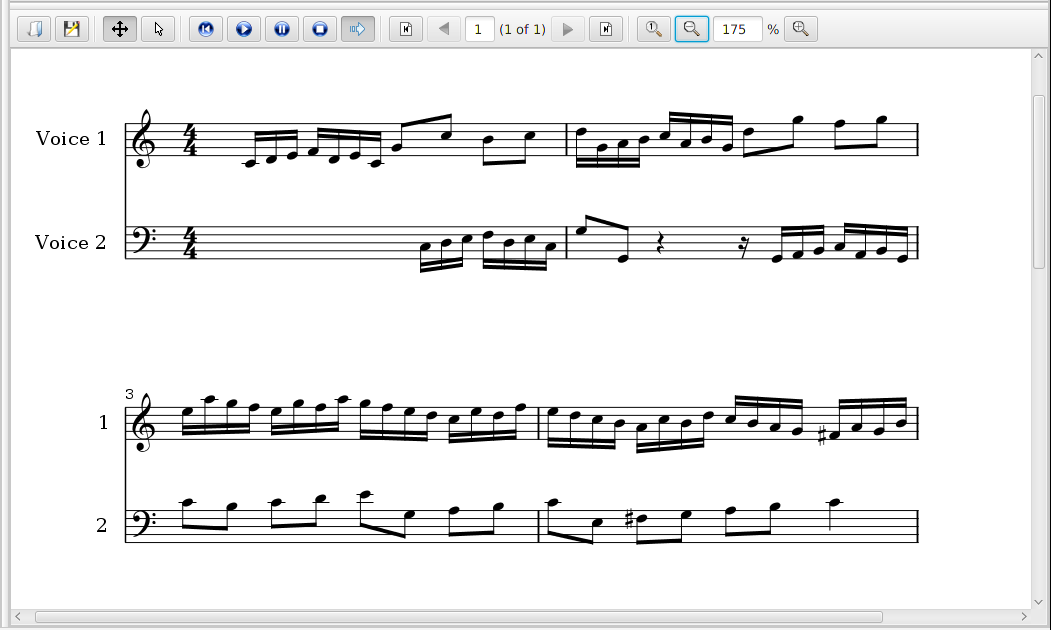
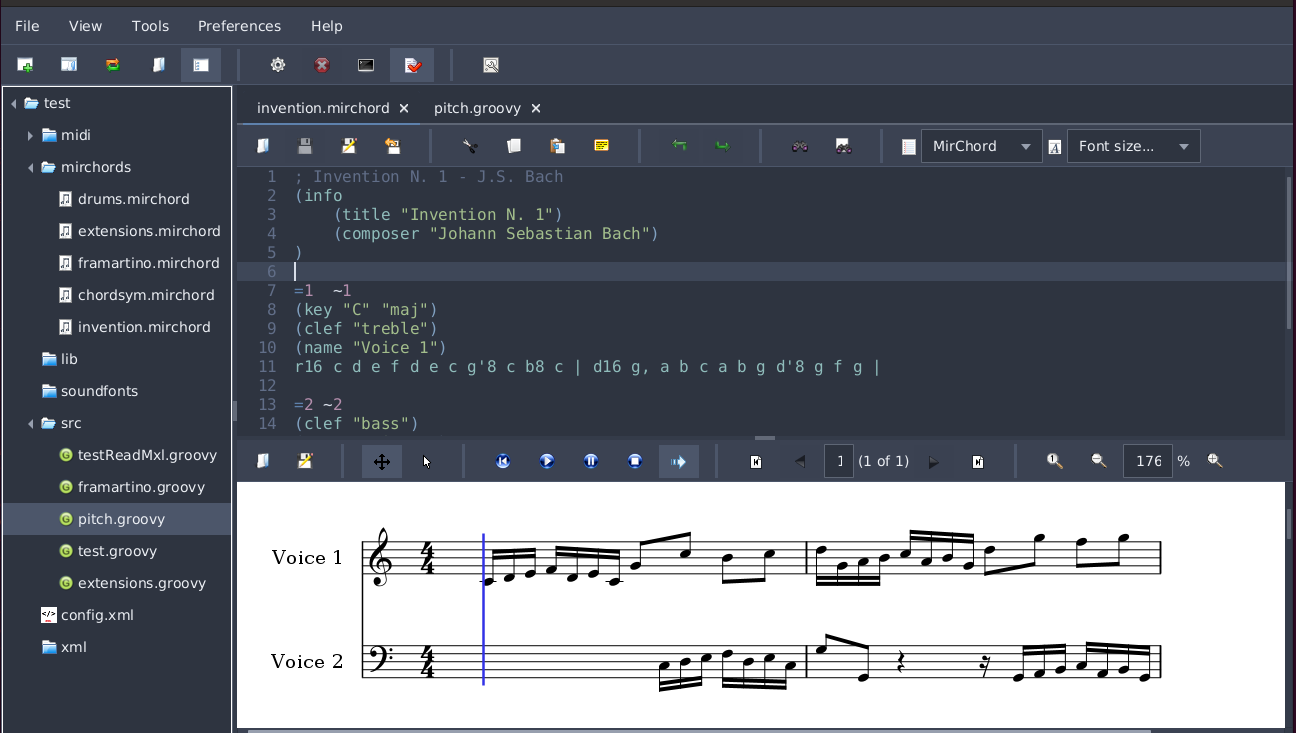
On the bottom part of the application you should see a graphical representation of the score defined above.
You can now press the Play button in the middle toolbar to start the midi playback.
Create a score using the MirMidi sequencer.
As stated above the other option is to create a new MIDI file or open an exisisting one (there are tons of them over the Internet).
In this case the MIDI editor shows up.
For a MirComp project (see below) you can import an existing file into the midi folder of the project by means of the Import... command of the mouse menu over the specific tree folder.
You can visit the MirMidi page for details about the sequencer.
Set up a project
Create a new project
You can create a new project from scratch using the New Project button that opens the following dialog.
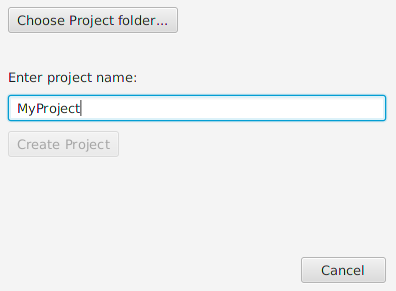
The dialog requires the name of the new project (you can rename it later from the tree view or from the file system) and the path of the workspace, i.e. a folder where the project is going to reside.
Project tree
After a new project is created (or opened) on the left side of the IDE you can find the project tree.
Projects created with the wizard share a common structure and have at least these common folders that serve a distinct purpose inside the project.
- The mirchords folder will contain all the compositions of the project.
- The src folder is the folder where you can put your groovy scripts.
- The midi folder is for MIDI files.
- The lib folder is reserved for external jars file (if any).
Back to the documentation page.
